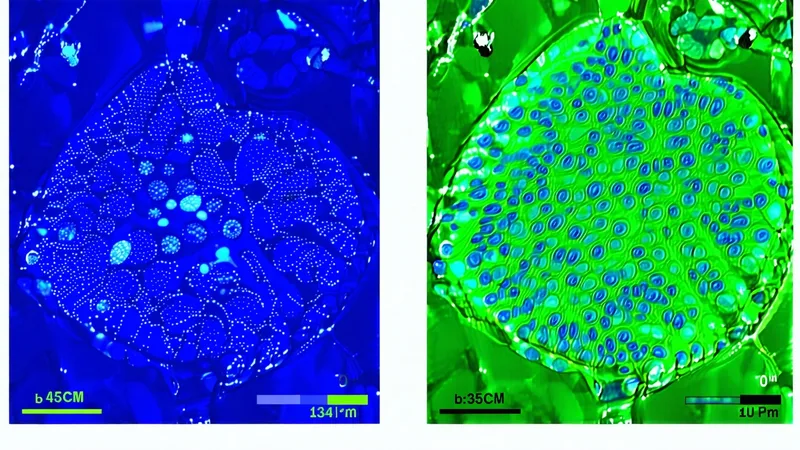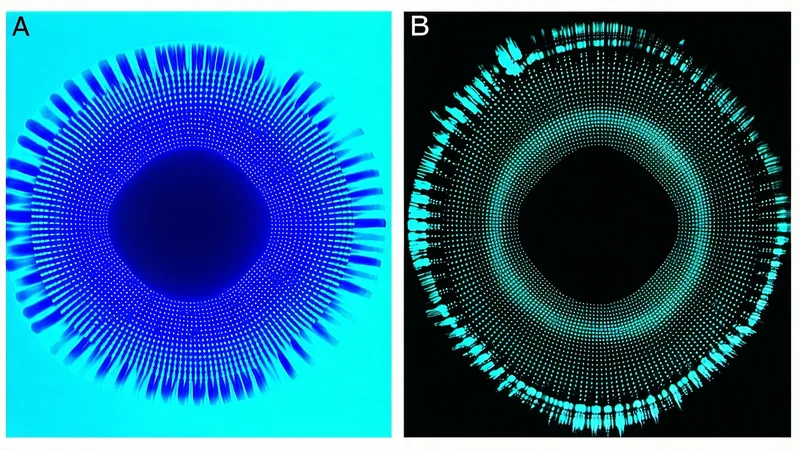
Every fluorescence microscope has a known deficiency that most biologists accept without correcting for it: the illumination intensity is not uniform across the field of view. It is higher near the center and falls off toward the edges. The extent of this fall-off depends on the light source, the optical design of the system, and the condition of the optical elements — but it is present on every widefield system and on most confocal systems to varying degrees.
Flatfield correction is the pre-processing step that compensates for this non-uniformity. It is one of the oldest and most thoroughly characterized corrections in quantitative microscopy. It is also one of the most consistently skipped in biological imaging workflows outside of core imaging facilities and HCS labs.
What Flatfield Non-Uniformity Actually Looks Like
On a typical widefield epifluorescence system with a mercury or LED light source, the illumination intensity across a 20x field of view follows an approximately Gaussian profile: brightest at the center, declining toward the periphery. On well-maintained systems, the center-to-edge intensity ratio is commonly in the range of 1.1 to 1.3 — meaning the edges are 10 to 30% dimmer than the center.
This seems modest until you consider what it means for a quantitative experiment. If you are measuring nuclear fluorescence intensity in a DAPI channel to assess DNA content, a cell at the periphery of the field will appear to have 15 to 25% less DNA than an identical cell at the center. If you are measuring a cytoplasmic signaling marker, cells at different radial positions will have different apparent expression levels even if the biology is uniform. Segmentation algorithms that use intensity thresholds will perform differently at the center versus the edge of the field, with real consequences for object detection rates and morphology measurements.
On older lamp-based systems or poorly maintained systems, the non-uniformity can be substantially worse — center-to-edge ratios of 1.4 or higher are not uncommon. Even on modern LED-illuminated systems, which typically have better uniformity than lamp-based predecessors, the correction remains relevant for quantitative work.
The Mathematics of the Correction
The flatfield correction is computationally straightforward. For each image, you need three acquisitions: the biological image (Iraw), a dark frame (Idark) acquired with the shutter closed to capture camera offset and read noise, and a flat-field reference image (Iflat) acquired with a uniformly fluorescent sample.
The corrected image is:
Icorr = (Iraw – Idark) / (Iflat – Idark) × mean(Iflat – Idark)
The multiplication by the mean of the flat-field image preserves the absolute intensity scale — without it, the correction normalizes every pixel to a value near 1.0, which is not useful for quantitative comparisons. The result is an image in which spatial intensity differences due to illumination non-uniformity have been removed, and the remaining intensity variation reflects only biological differences between cells.
In practice, Iflat should be the mean of at least 16 to 32 flat-field acquisitions to average out Poisson photon noise. A single flat-field image will have substantial pixel-to-pixel noise that gets amplified during the division operation, introducing artificial structure into the corrected image.
Choosing the Right Flat-Field Reference
The flat-field reference should be fluorescent, uniform, and approximately matched to the emission wavelength of the channel being corrected. Common options include:
- Fluorescent plastic slides (e.g., Chroma or Argolight calibration slides): stable, convenient, and available for multiple wavelength ranges. The main limitation is that they are not optically equivalent to an aqueous sample and may show slightly different aberration patterns.
- Concentrated dye solutions: a well of dilute fluorescein (for 488 nm excitation) or rhodamine B (for 561 nm excitation) in aqueous mounting medium provides a flat fluorescent layer that closely matches the optical path of a biological sample. Requires fresh preparation and is sensitive to bleaching during acquisition.
- TetraSpeck or similar calibration beads: useful for multi-channel alignment as well as flatfield estimation, though the sparse bead distribution requires careful averaging over many fields.
Avoid using biological samples as flat-field references — the assumption of uniform fluorescence in a biological specimen is almost never valid.
When Flatfield Correction Matters Most — and When It Can Be Deferred
We are not saying that flatfield correction is necessary for every fluorescence microscopy experiment. For purely qualitative imaging — assessing cell morphology by eye, capturing widefield overview images for figure panels — the spatial intensity non-uniformity is usually visually imperceptible and analytically irrelevant. For experiments where the unit of analysis is a whole image rather than individual cells (e.g., spot counting per field), the edge bias may cancel out if the field is sampled randomly.
The correction becomes critical when:
- You are measuring per-cell fluorescence intensity and cells are distributed across the full field of view
- You are comparing intensity measurements between fields acquired at different positions on the same sample
- You are combining images acquired on different microscopes or at different time points
- Your segmentation algorithm uses absolute intensity thresholds that will produce spatially variable object detection rates without correction
- You are performing high-content screening where per-well intensity statistics are the primary readout
A Common Failure Mode: Correcting After Segmentation
An underappreciated pitfall is applying flatfield correction after the segmentation step rather than before. Segmentation algorithms — whether threshold-based or machine learning-based — partition the image into objects based on intensity values. If the segmentation runs on uncorrected images, the object boundaries and the objects detected at the periphery of the field will reflect the non-uniform illumination. Correcting the intensities of the resulting objects post-segmentation does not fix the segmentation errors; it only adjusts the measured values of incorrectly segmented objects.
The order of operations matters: dark subtraction, then flatfield correction, then background subtraction if needed, then segmentation, then feature measurement. Any analysis pipeline that applies corrections at a later stage should be examined carefully to verify that the correction is actually producing the intended result.
Carrying Corrections Forward Across Time
A final practical consideration: flatfield correction images should be re-acquired whenever the instrument configuration changes. Replacing a lamp bulb, swapping an objective, or servicing the light source can all alter the illumination profile. A correction image acquired six months ago is not necessarily a valid correction for images acquired today on the same system. The interval between re-acquisition depends on the system stability, but for quantitative studies, validating the flat-field profile at the beginning of each major imaging session — and certainly at the start of each new experiment — is standard practice at imaging facilities that operate at high quantitative standards.
The flatfield correction step adds perhaps five minutes to a typical imaging session. The analytical benefit — removing a systematic spatial bias that would otherwise be invisible in the data — is difficult to quantify precisely in advance, but it is substantial whenever intensity measurements are the primary biological readout.